Adding Vertical Shiplap Wall Paneling to the Entryway
Wall treatments are one of the best ways to add character to a room. My mother-in-law asked for my help updating their entryway with some hooks, a shelf, and better storage solutions. We looked through our Pinterest boards so I could get an idea of what she was hoping for. Of course, my mind thought “add beadboard and wallpaper!!!”…so I mocked up my vision while keeping her inspirational photos in mind.
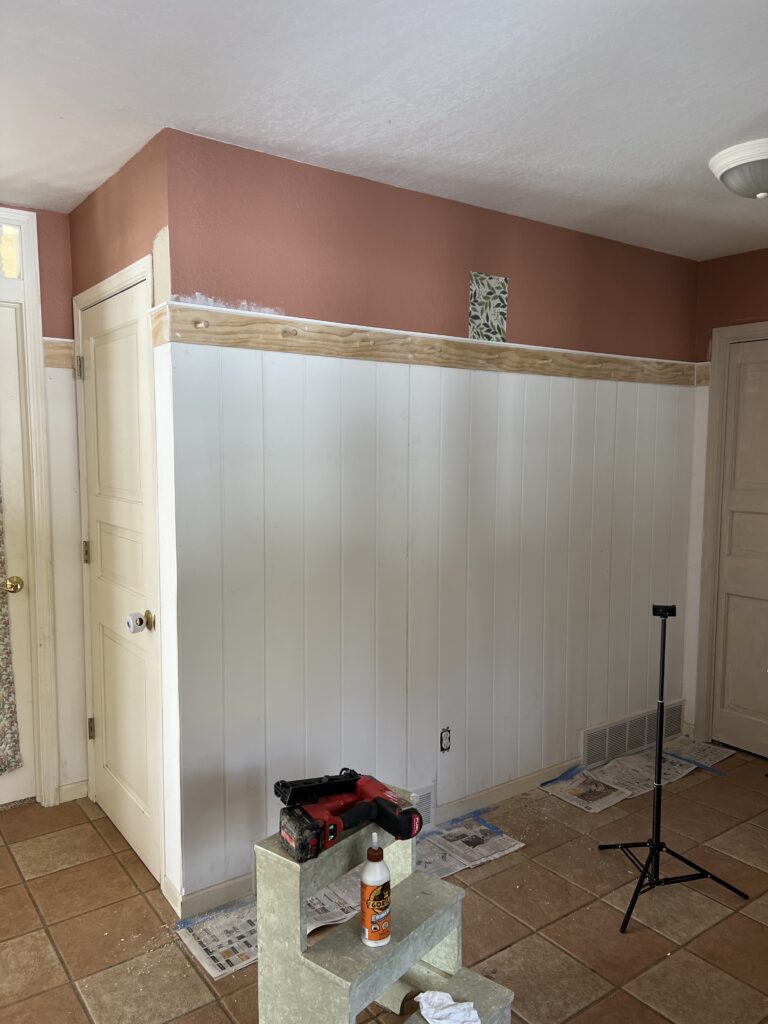
I wanted to find a beadboard with a wider “board” width than what you see on traditional beadboard. They didn’t have exactly what I was looking for at any places near me and that’s okay because Kathy, my mother-in-law, found this wide-gap faux shiplap that she liked from Lowe’s. Typically, faux shiplap panels only have a nickel-sized gap. I despise painting the gaps of shiplap because you have to use tiny brush and it’s extremely time consuming. This paneling is much easier to paint due to the 3/4 inch gap between the “boards”. I put that in quotations because they aren’t individual boards, just paneling made to look like it.
Once we chose our paneling, I measured the walls and found we needed at least eight 4×8 panels. Did you know you can get your lumber cut and ripped for you at Lowe’s and Home Depot? I had them rip the paneling so each piece was two feet wide instead of four. I also had the cut to only six feet long because they would only be going 3/4 of the way up the walls.
“What about the existing baseboards?”
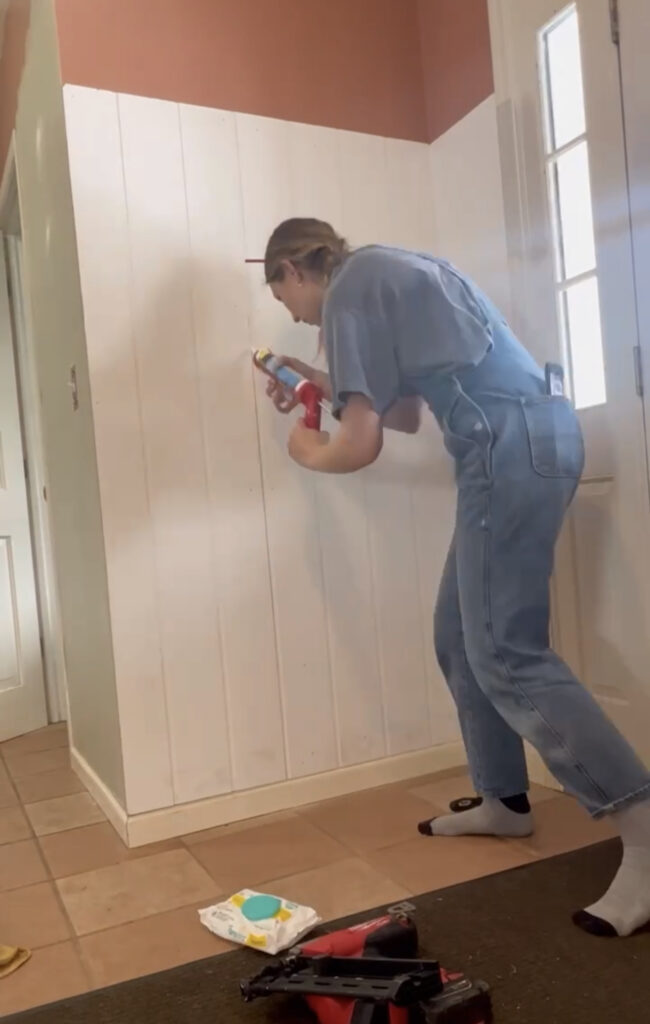
The existing baseboards start wider on the bottom, have some detailing in the middle, and taper down to under 1/4 inch at the top. We decided to keep the baseboards as-is and just put the paneling right on top. The paneling is just a hair wider (a true 1/4”) so there is a small overhang. Because this is an entryway, there may be exposure to snow and mud so I caulked the gap where the paneling meets the baseboards to ensure moisture stays out. It also softens any places where the pieces aren’t totally lined up with each other.
“What tools do I need?”
I wish I could tell you this is a beginner-friendly project. If you are adding wall treatments to an entire room with outlets and light switches, this definitely falls in the intermediate range.
If you are adding paneling to an accent wall without any obstacles to cut around, I’d say it is beginner-friendly! With that said, here is my power tools list:
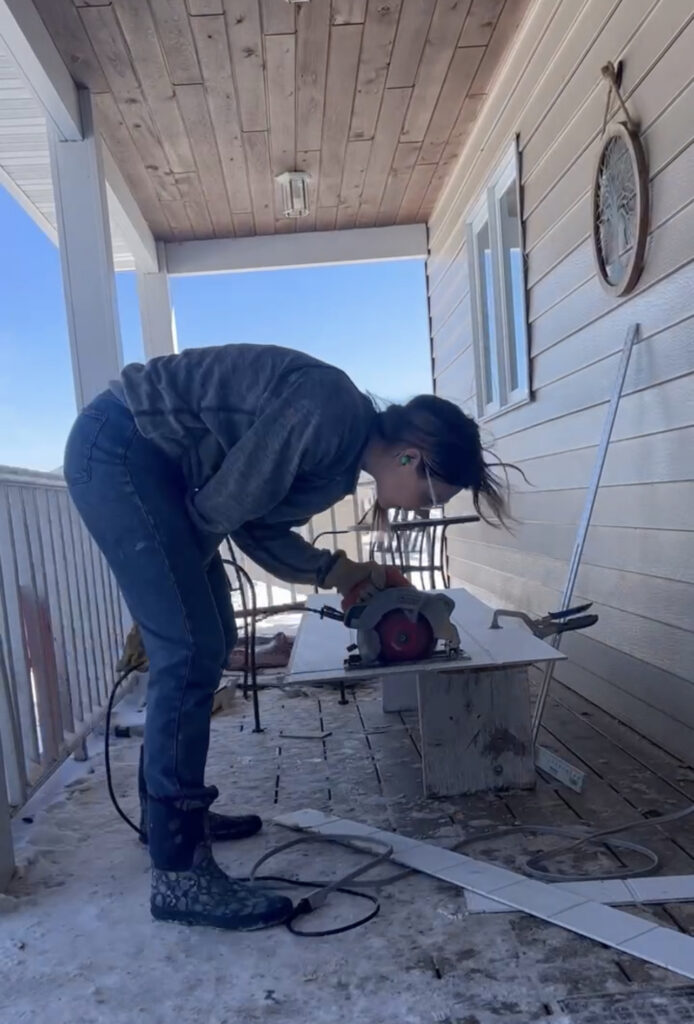
- Circular saw for cutting and ripping the pieces to the desired width and length
- Multi-purpose tool for cutting space for outlets and switches
- Miter saw for cutting trim pieces
- Nail gun for attaching paneling to the wall
- Drill/driver for drilling peg holes and attaching the shelf to the wall
“Do you need to glue it to the wall?”
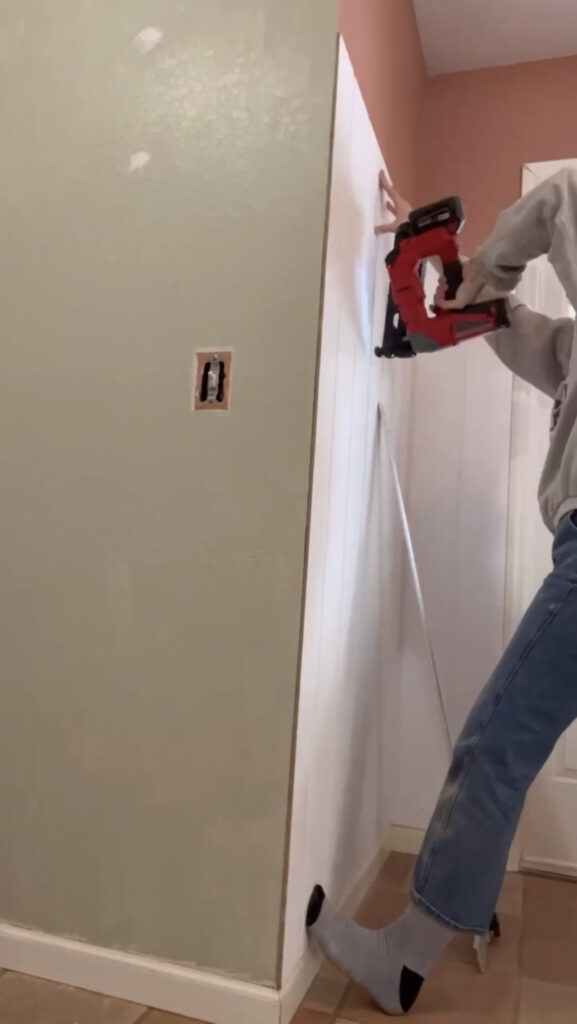
I only use a nail gun. It is important to angle your nail gun different ways so the nails aren’t all pointing in the same direction. If you do this, you will not need glue. This way, if you need to remove the paneling for any reason, it will not destroy your drywall.
“How do I put two pieces together if the wall is longer than the width of the panel?”
The panels will begin and end in a way that they can be put next to each other nearly seamlessly. After butting them up next to each other, caulk the seam. After paint, it won’t be noticeable! You can see a bit of the seam in this photo. The edge of one of the panels had a bit of damage that cause it to be slightly more raised than the edge of its neighbor.
”How high does the paneling go up the wall?”
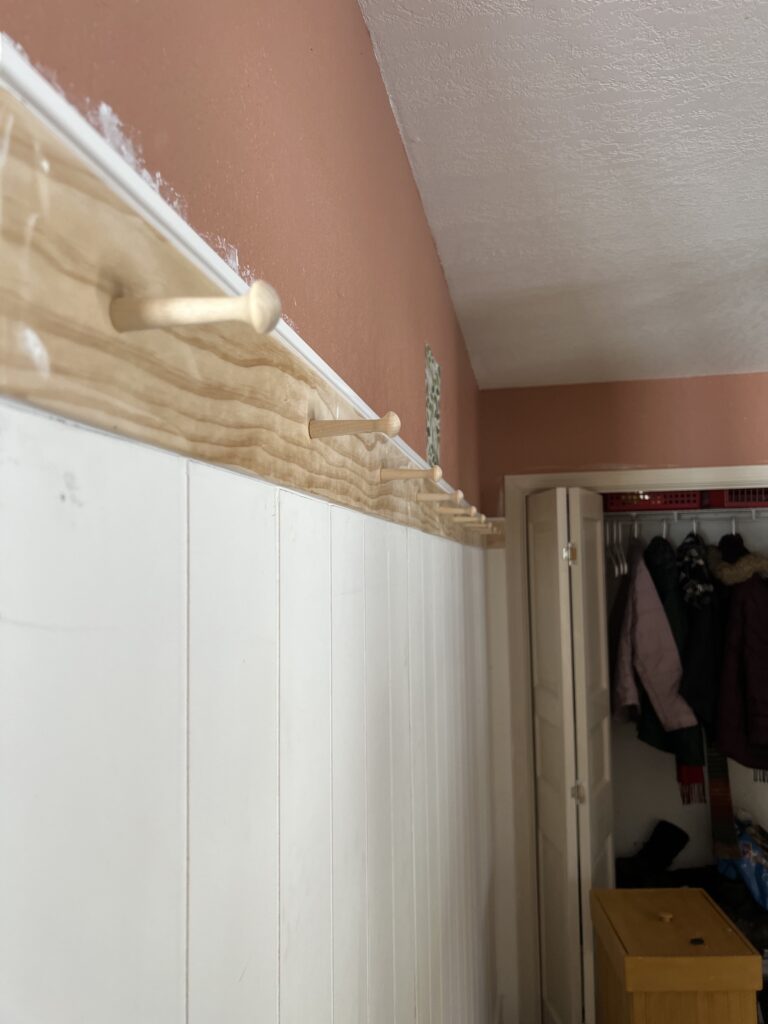
We knew we wanted the paneling to go most of the way up the wall. The plan was always to add wallpaper above the paneling. The wallpaper needed to be fun but not overwhelming since it would be on every wall. I feel like this is achieved by having the paneling go about 6 feet up the wall.
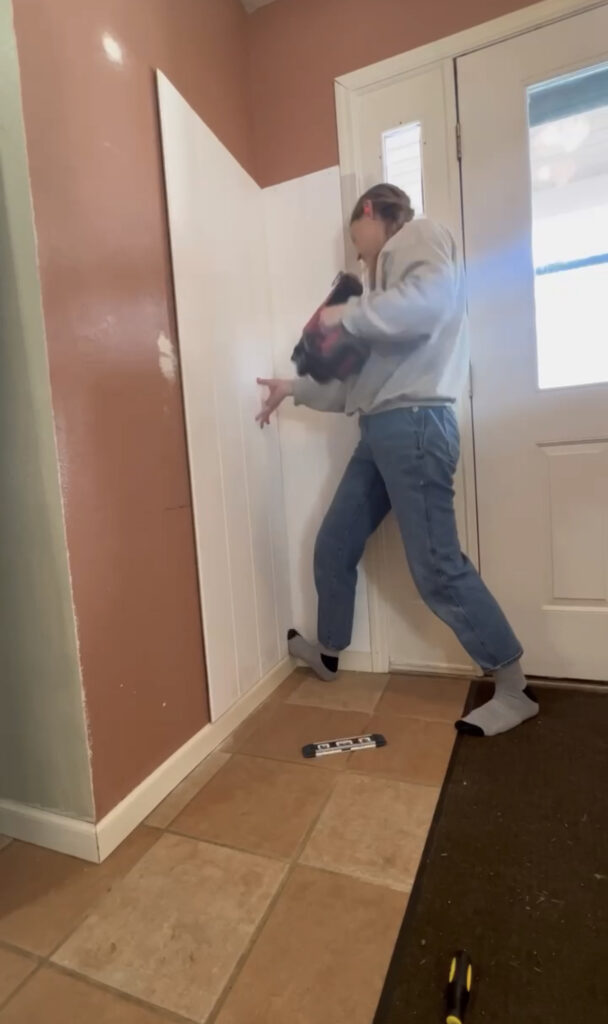
“What did you do on the outside corners?”
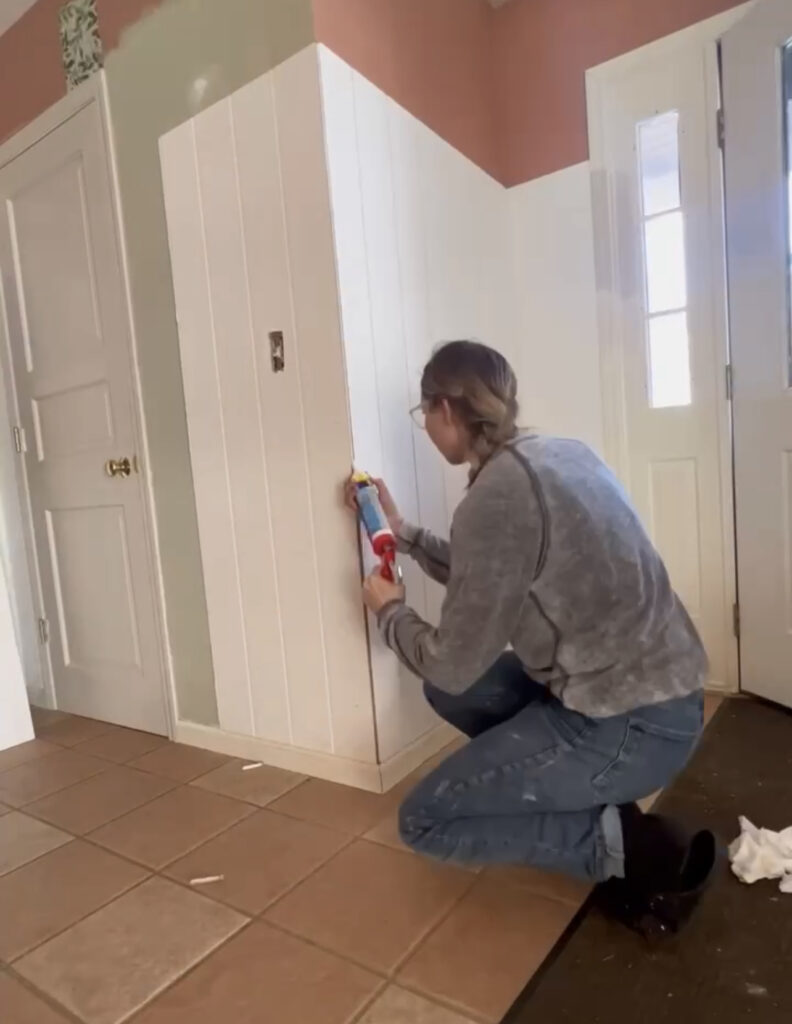
I used the paneling to wrap the outside corners. First, I decided which side I wanted the gap to be on (I always chose the side that wasn’t visible upon entering the front door -first impressions matter!). Then, I applied the paneling to the side I wanted the gap to be on. The paneling is 1/4 inch thick, so the piece that overlaps the piece that was applied first should, in theory, be 1/4 inch wider than the width of the wall it is going on. Because walls are rarely level, I found it easier to trace the edge and then cut the piece I needed. Once I had both pieces adhered to the wall, I caulked the gap.
I got very lucky with this corner and the way the pattern of the boards lined up. Totally seamless!
“What did you add for the top trim piece?”
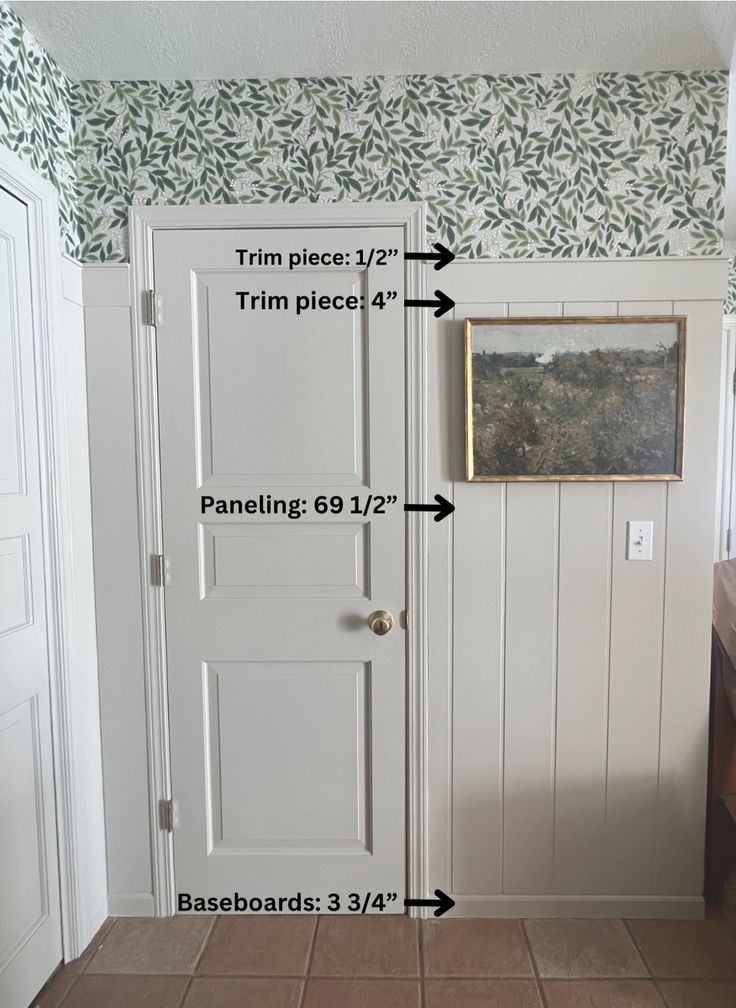
The existing door trim was only 1/4″ thick at the edges that bump up against the paneling. For this reason, my top trim piece couldn’t be much thicker than 1/4″ as well. I ended up choosing a 5/8″ x 4″ pine trim piece. I used my miter saw to cut each corner piece at a 45-degree angle. I used straight cuts when the trim piece butted up against a door frame, which was often. This room has a total of 5(!!) doors.
On top of the four-inch trim piece, I added a 1/2″ x 1″ polyurethane molding to add a little more dimension and character. I also cut this using a miter saw. I used my angle nailer to secure it to the top. this part can get a little tricky if your nail gun is too big. It would be much easier with a smaller brad nailer but I still got the job done.
I couldn’t be happier with how this beadboard/vertical shiplap wall came out! Full reveal coming next week!
Have any other questions about this project? Leave a comment or send me a message on Instagram and I’ll be sure to get back to you!