How To Create a Custom Cabinet Tower on a Budget Using Big-Box Store Cabinets
This post contains commissionable affiliate links.
I have been slowly renovating our farmhouse kitchen over the last 6 years to truly fit our family’s needs. My list of needs and wants has drastically changed over this time but a few things I know for sure:
- I need a breadbox.
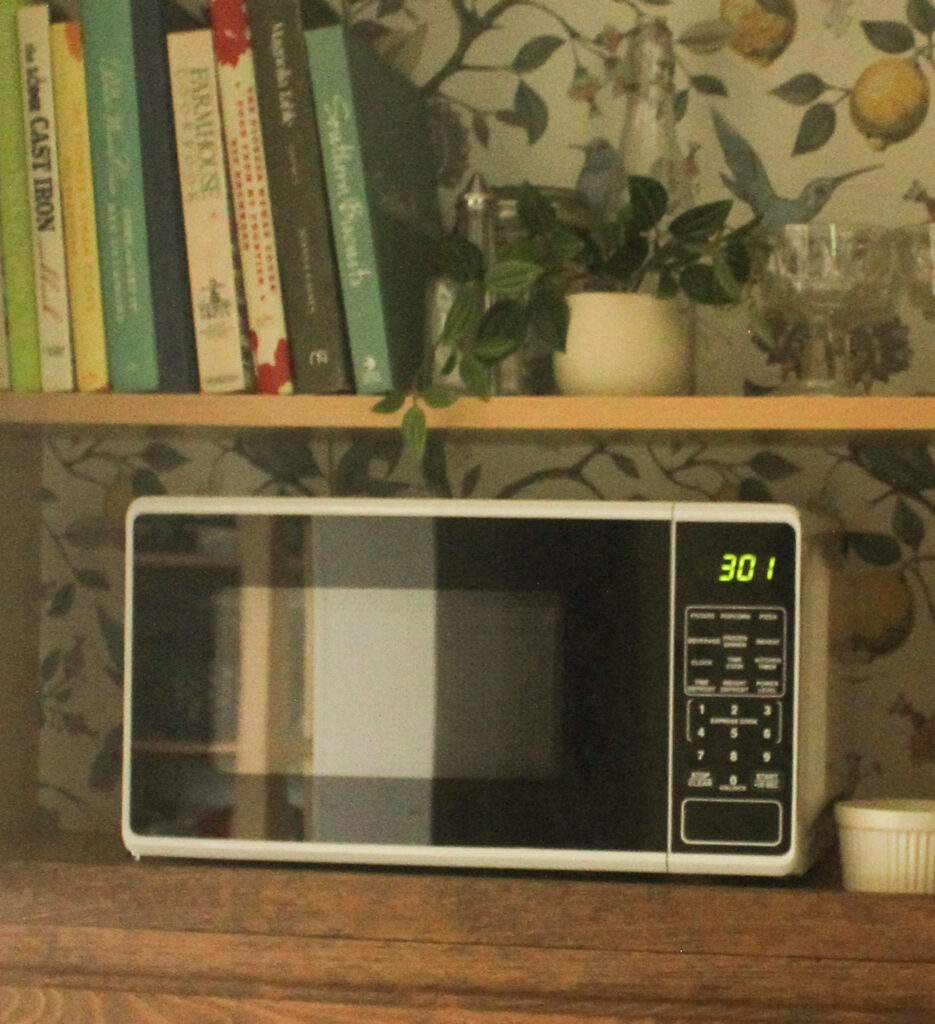
- I don’t want to see the microwave.
The “trend” of cabinet towers is slowly gaining momentum, mainly on Instagram, through both casual DIYers and professional designers alike. This is a genius and aesthetic storage solution, especially in a space that isn’t necessarily conducive to food-prepping.
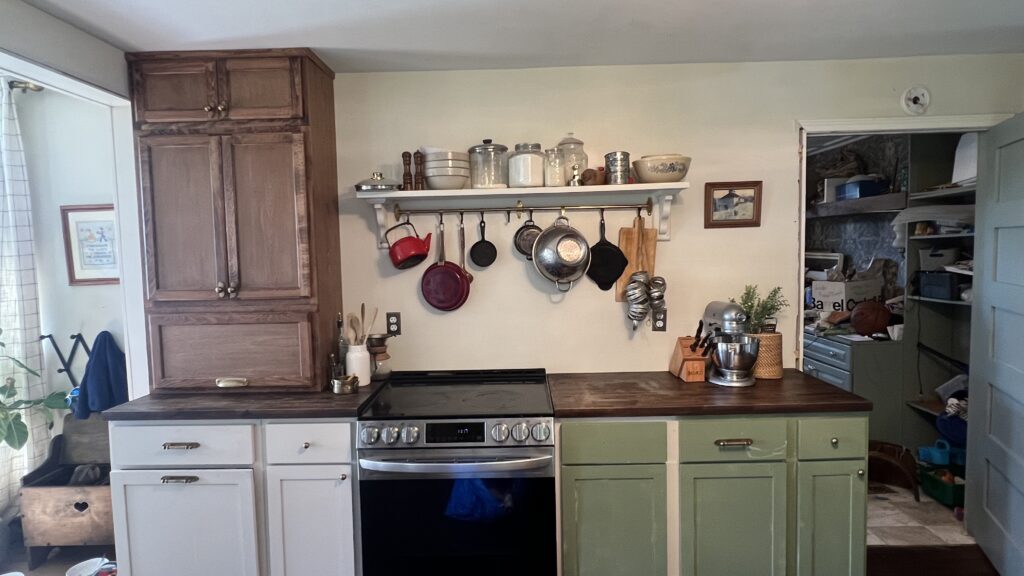
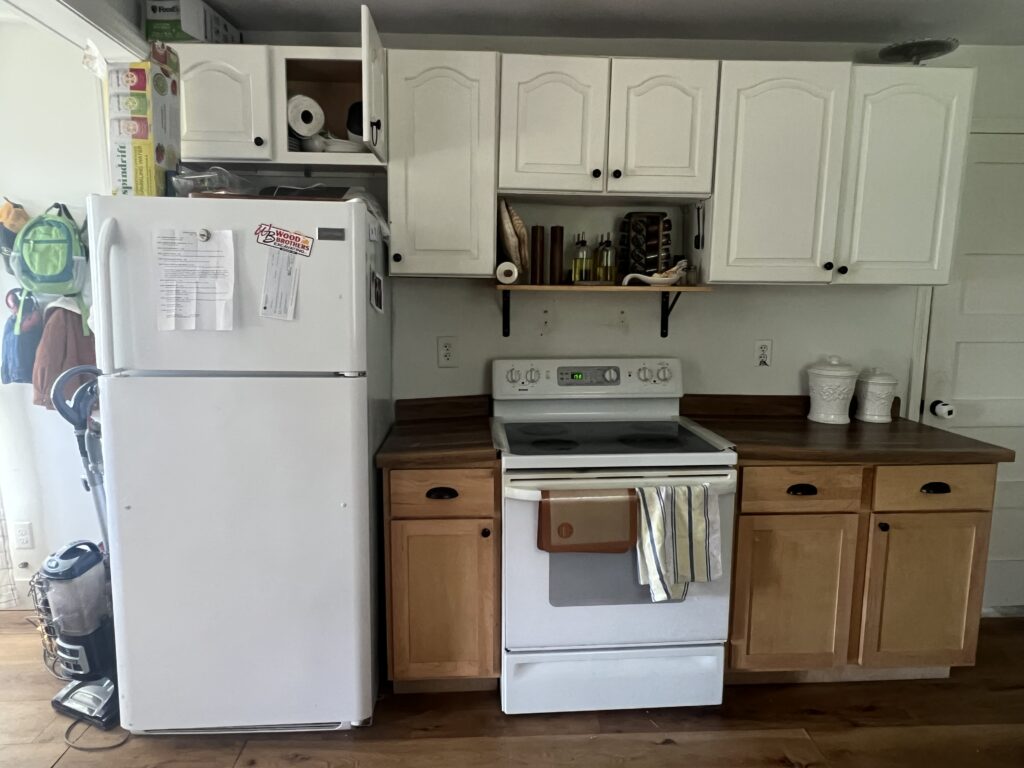
I. The Before
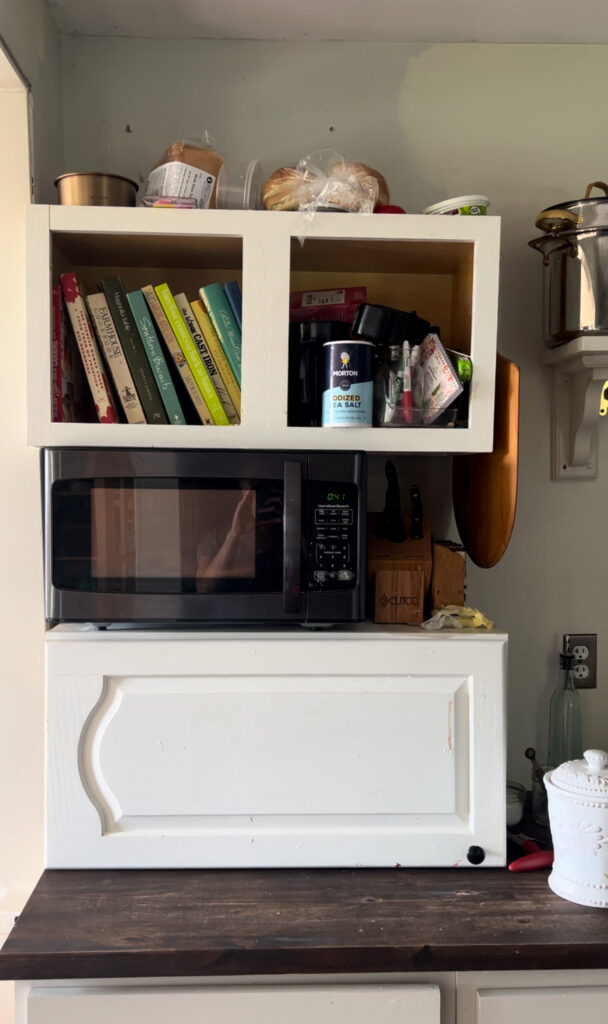
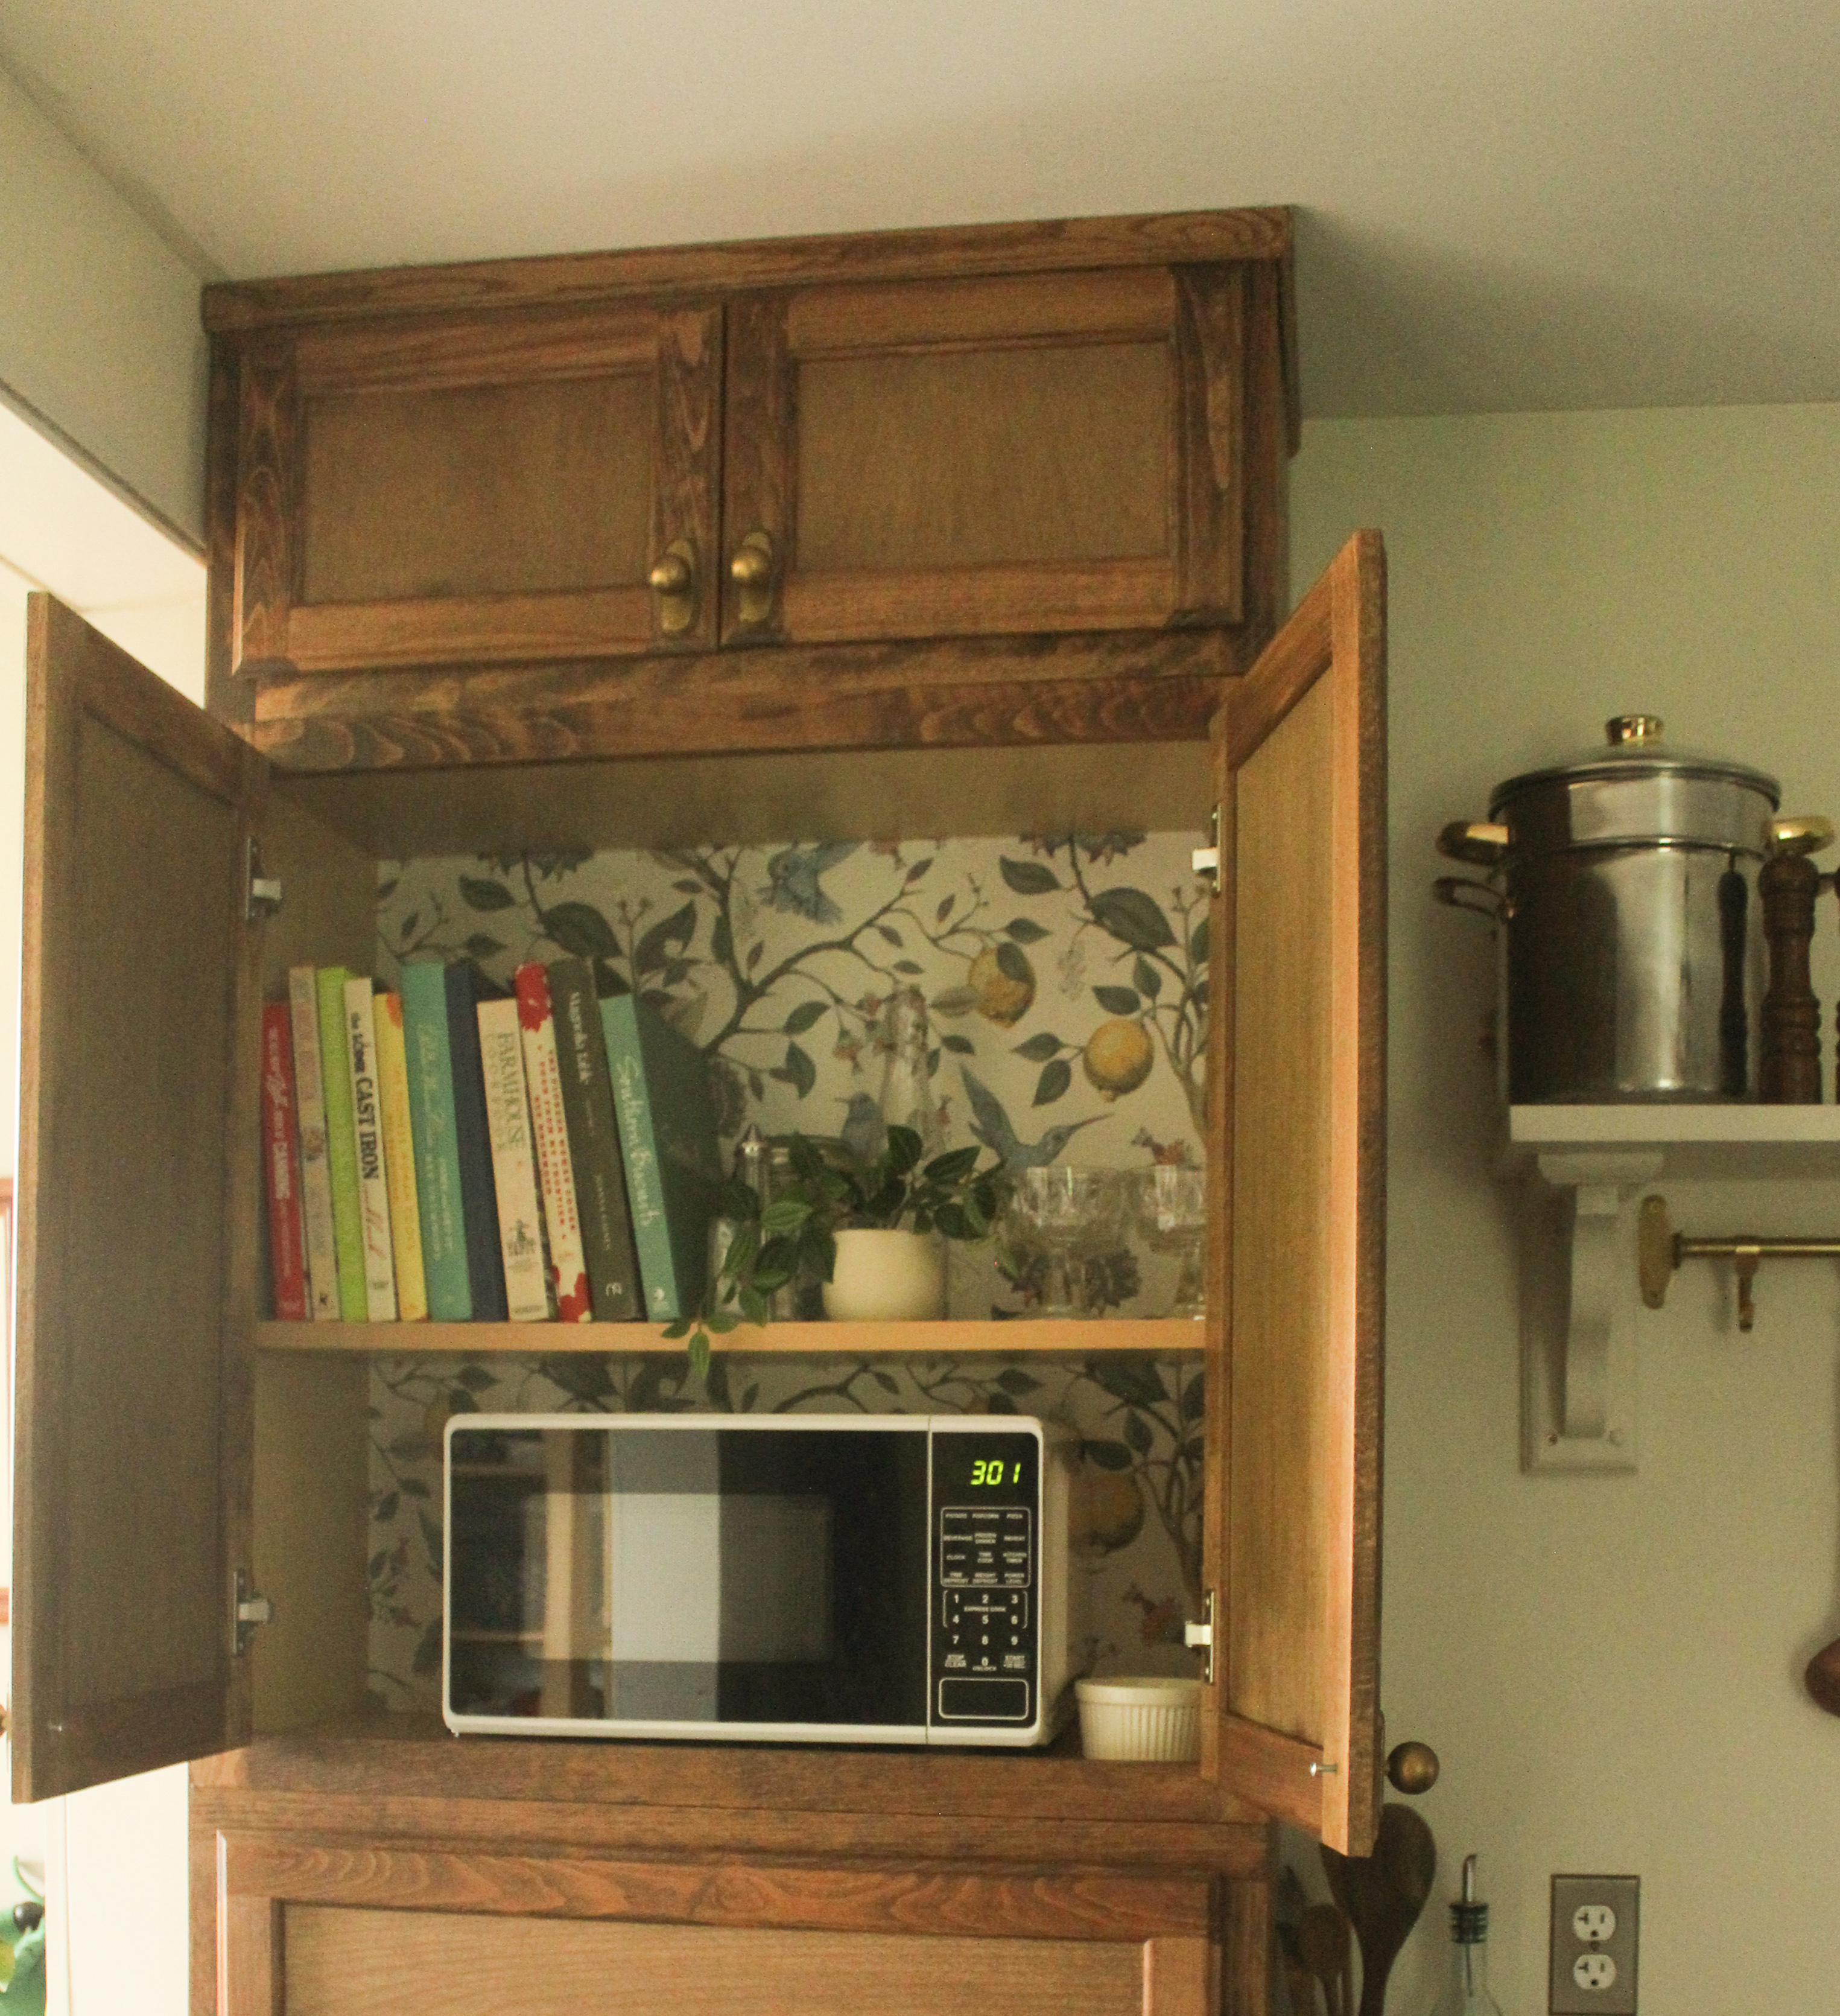
I first tested this idea out by stacking our old upper kitchen cabinets together with our microwave sandwiched in the middle. The once vertical 15″x 30″ cabinet was flipped on its side and used as a breadbox/small appliance storage.
One of my favorite parts of this slow-burn kitchen renovation has been the opportunity to solve storage issues as they come. I had a list of wants that I was able to cross off my list with the completion of this cabinet tower project.
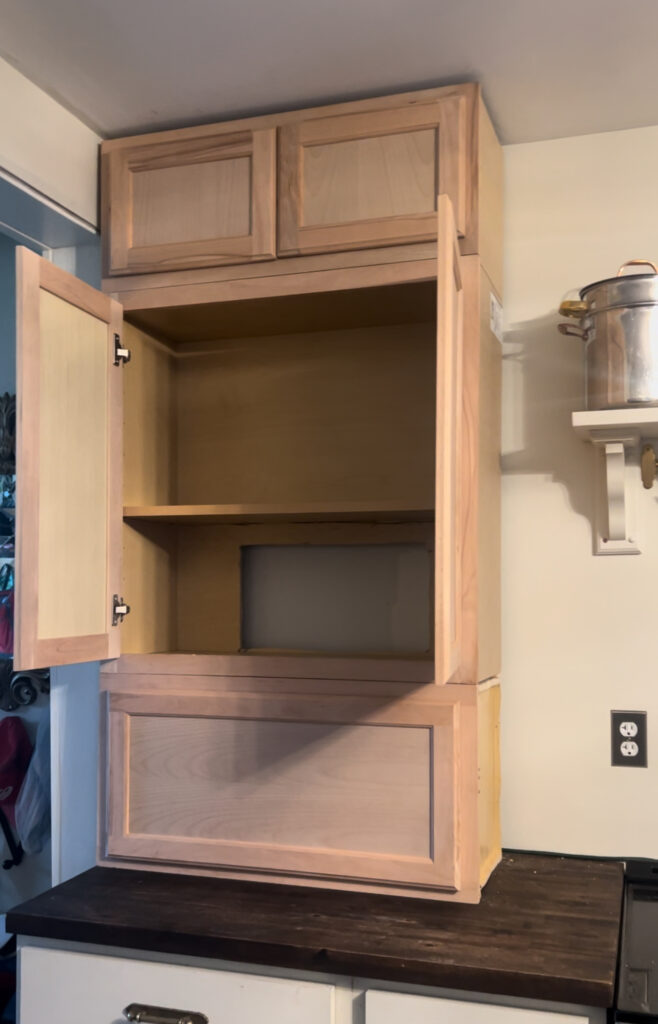
II. The Construction
The distance between the countertop and ceiling was 58″, and I wanted to fill that gap. Most in-stock preassembled cabinets are 30″ tall, and I knew that my bottom cabinet would have to be 15″. From there, it was a lot of the calculator app to figure out which cabinets would fit in the remaining space. A nice feature of using these cabinets for this specific project is they are partial overlay, which means there is extra space on all sides of the cabinet doors. This was very helpful because it allowed for the breadbox door to easily open and shut, and there was space to apply the upper trim to hide the small 1″ gap from the top of the tower to the ceiling.
III. Modifications
I had to make a few modifications to get the cabinets to stack perfectly and get the microwave to fit.
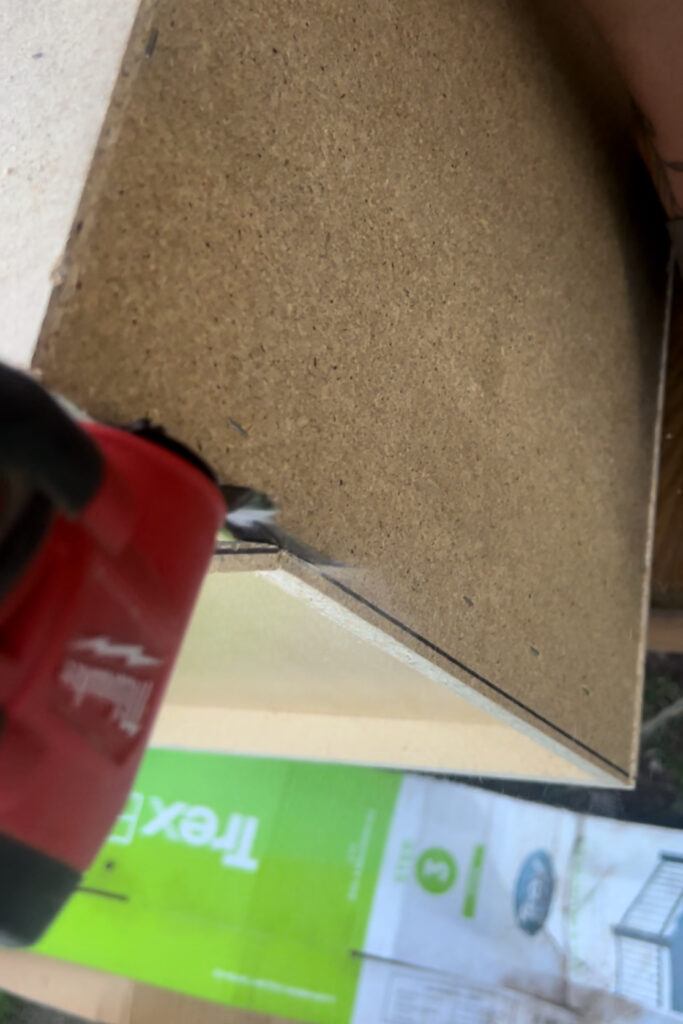
- The bottom cabinet. The edge of the bottom cabinet had to be cut to allow the side panel to lay flat against it. On this cabinet, it would typically be on the bottom, but turning it on its side makes this piece stick out and the panel would not be flush it I would not have cut it.
I used this oscillating tool to make the cut.
2. The middle cabinet. I could have searched harder for a microwave that would have fit in this space. But I didn’t and had to cut a big hole in the back.
3. The top cabinet. I did not have to change much with this one but I did attach the molding to it to fill the 1″ gap between the top of the cabinet and the ceiling.
4. Side paneling. I used a piece of paneling that is used for lower cabinets and ripped it with a circular saw to fit one side of the cabinet tower. This covers the unfinished sides, which are made of particle board.
IV. Staining
Here are the processes and products I used to stain the cabinet tower.
- Remove doors.
- Sand with a 320 grit sanding block.
- Wipe with a damp cloth and allow to dry.
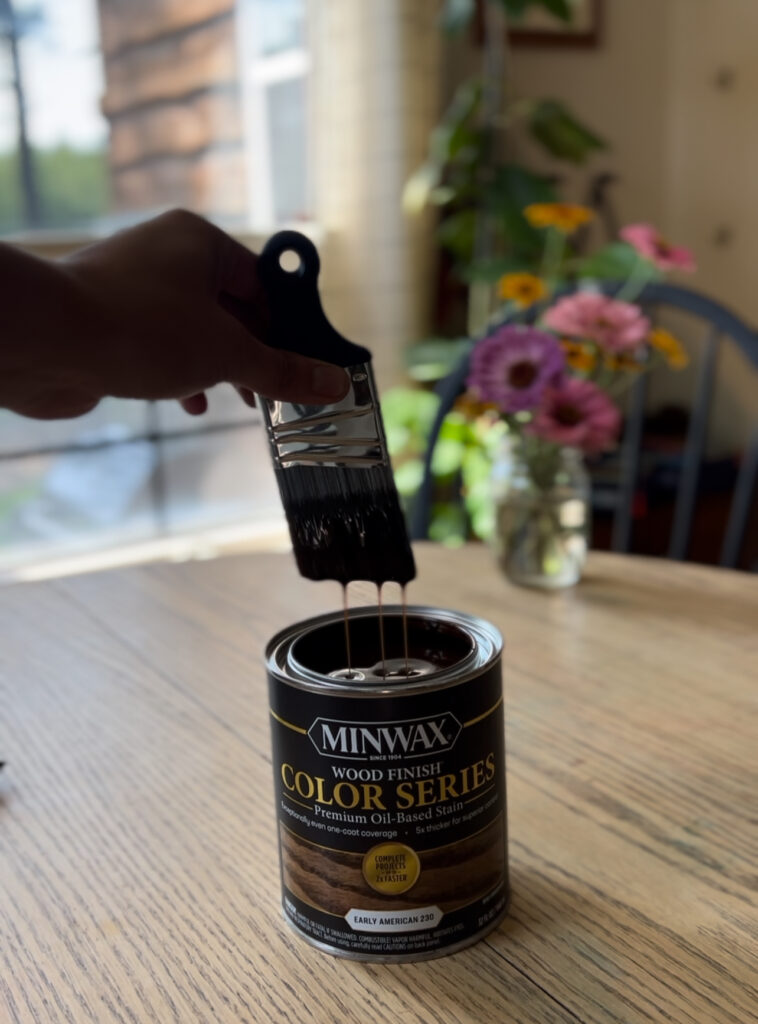
- Apply Minwax Prestain Wood Conditioner
- Wait 15 minutes and apply one coat of Minwax Color Series Oil Based Stain in Early American
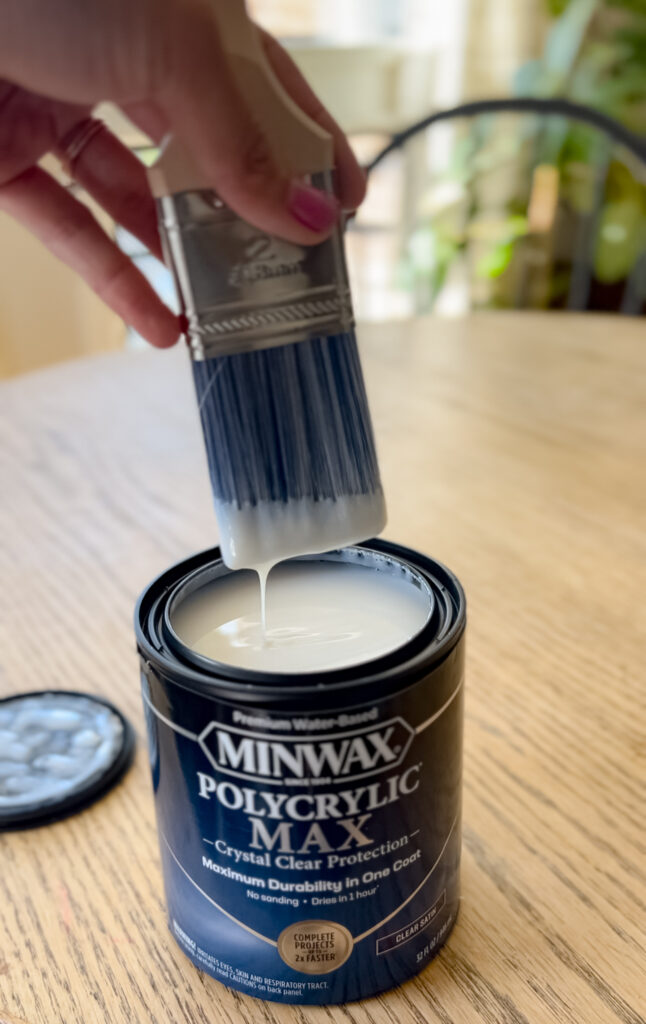
- Apply Minwax Polycrylic Max in Satin
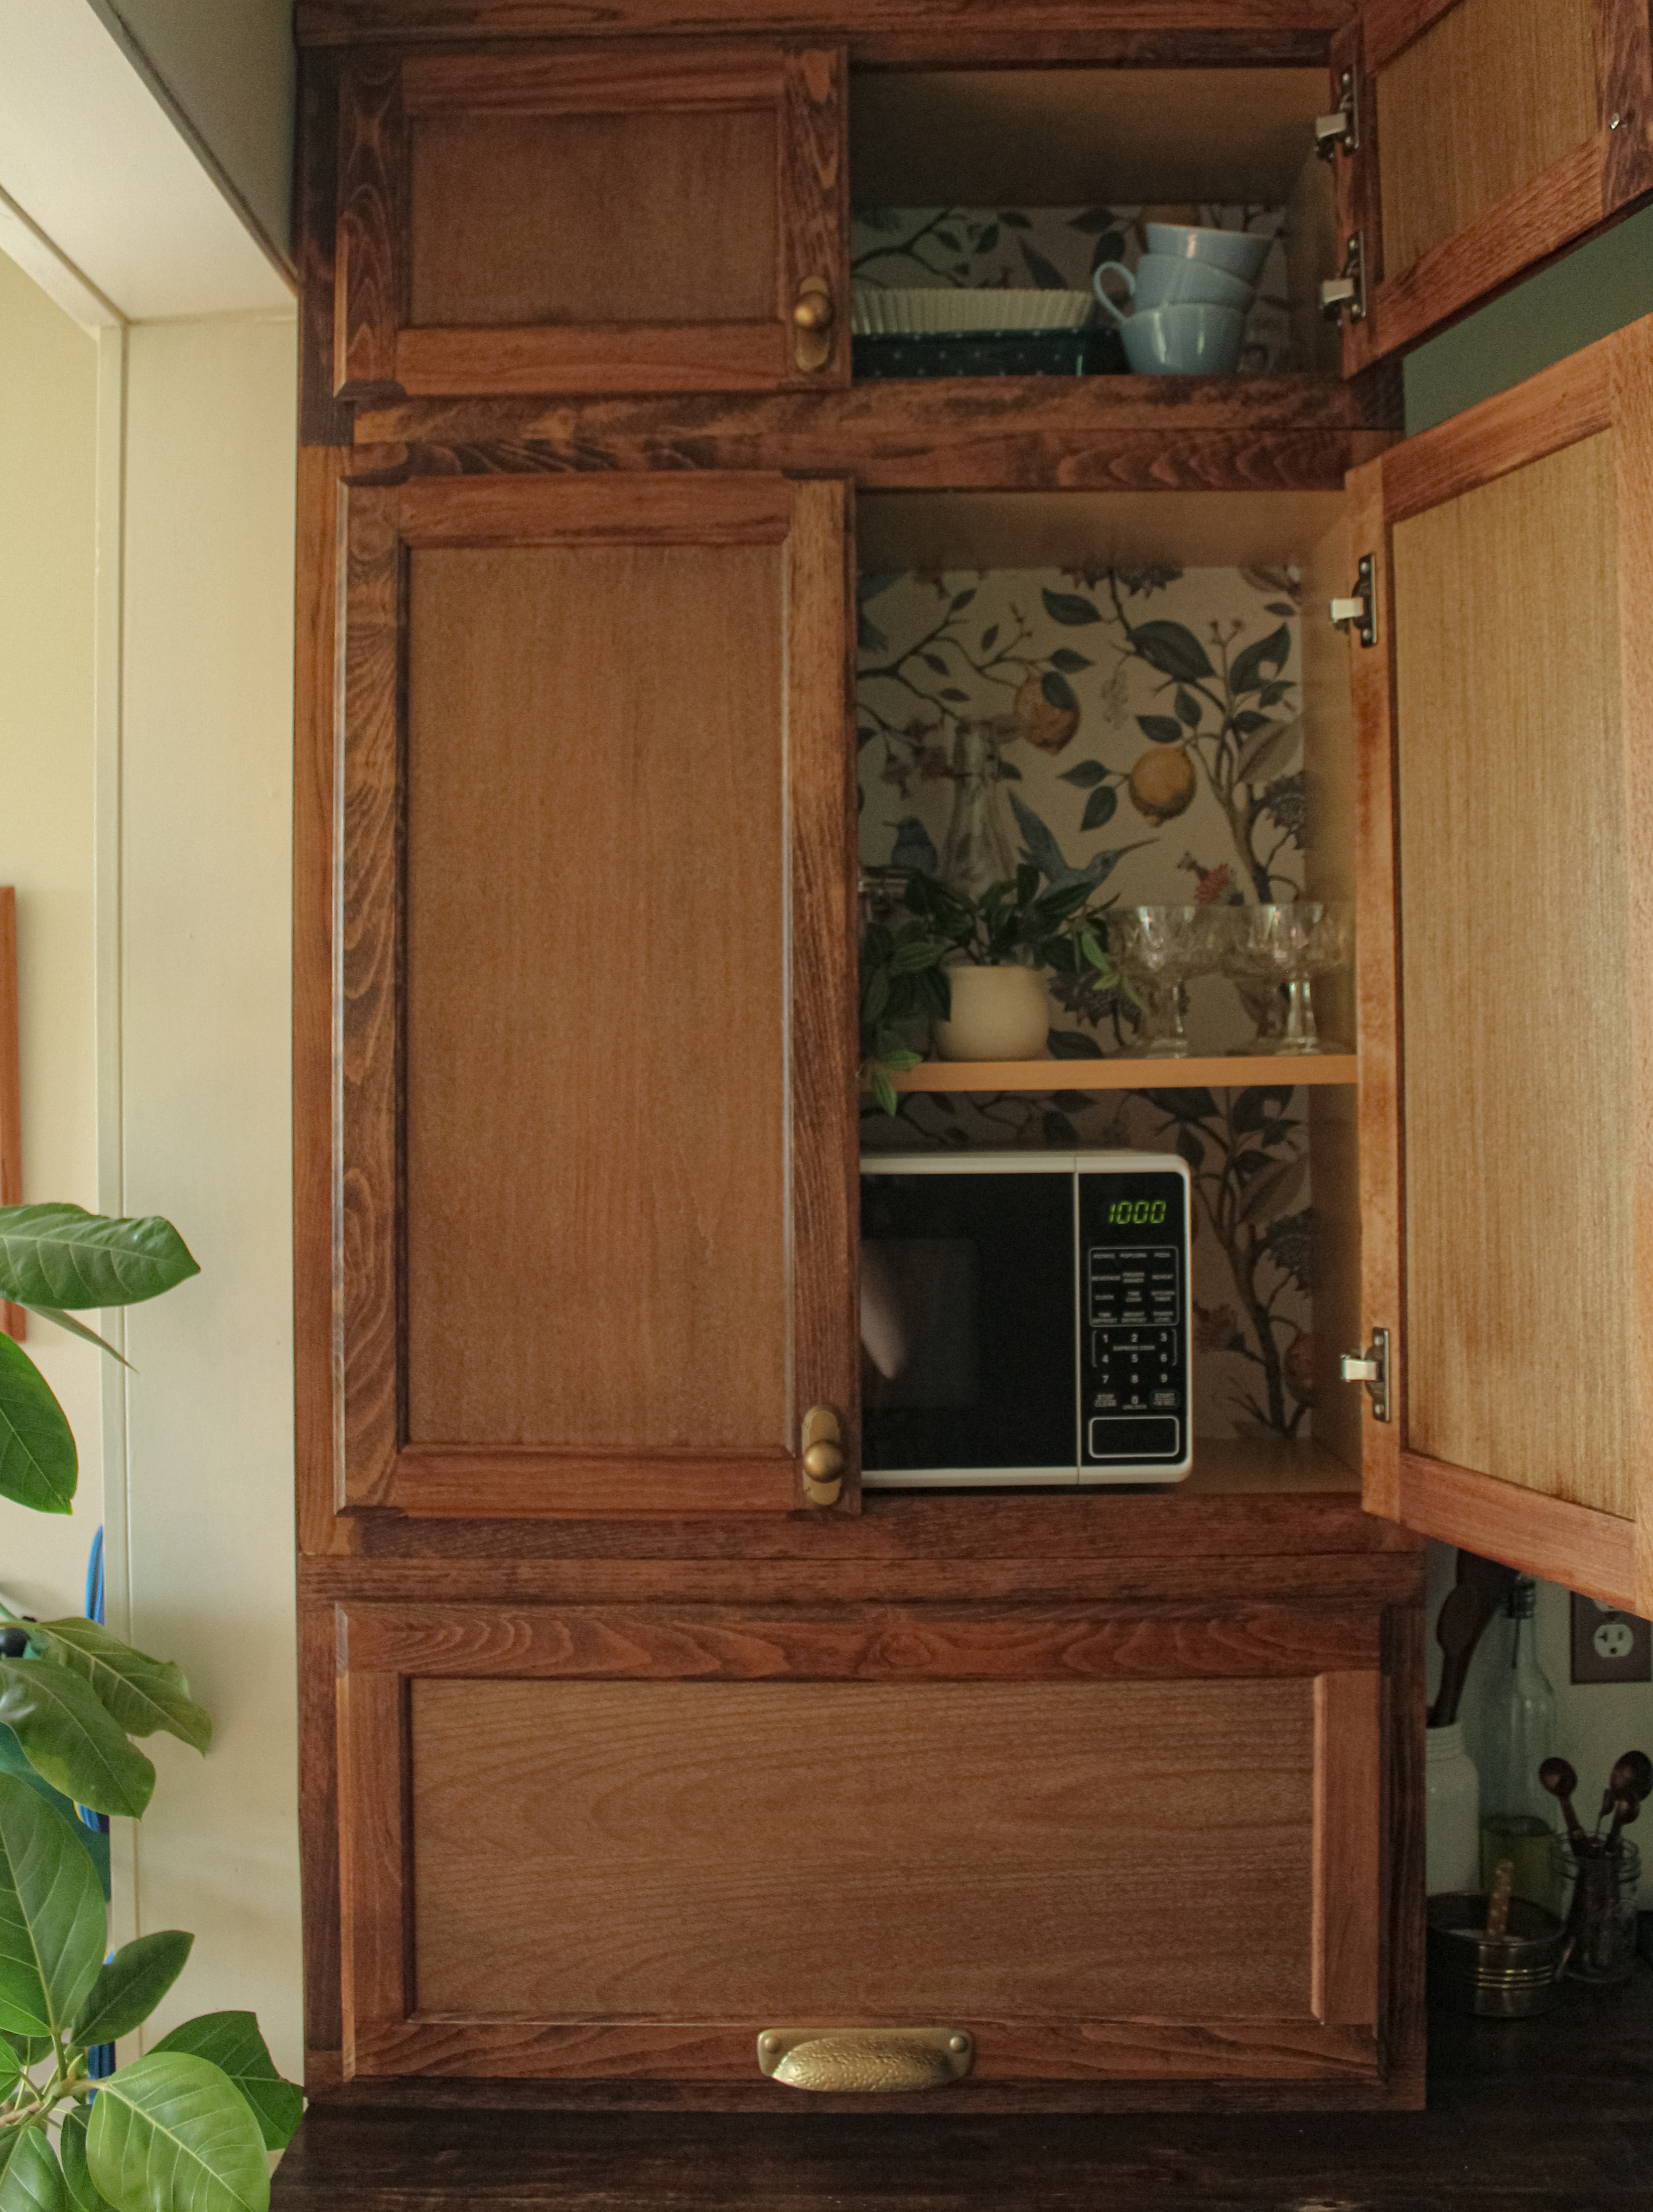
V. Wallpaper and Hardware
I cannot leave well enough alone and I had to use this beautiful peel-and-stick wallpaper as a backing for the cabinets.
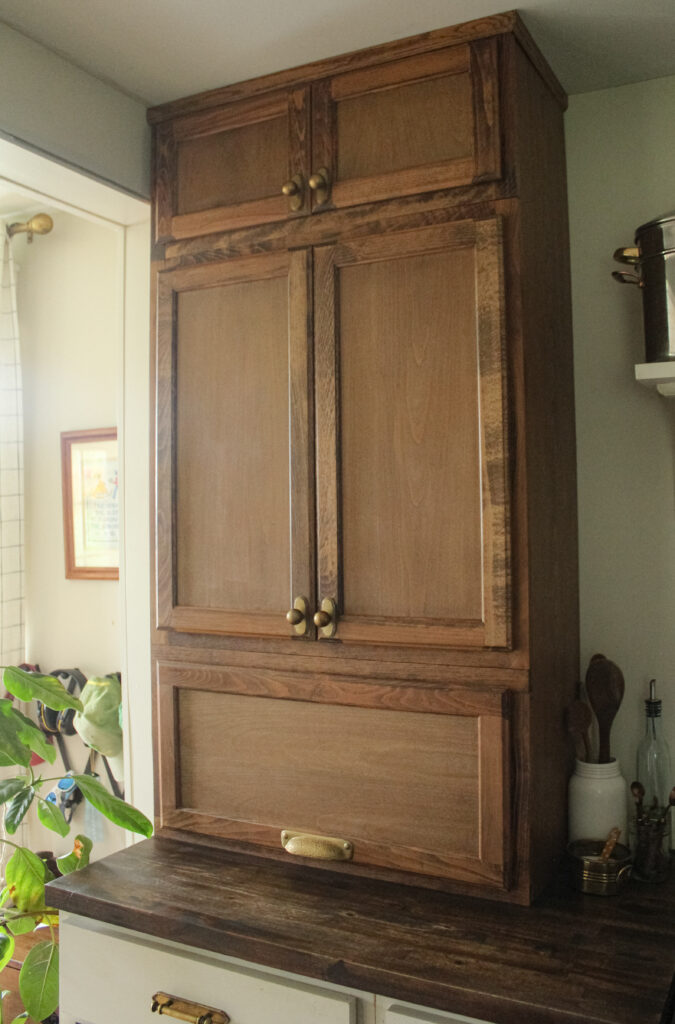
I had a difficult time finding the perfect hardware for this cabinet tower, but long story short, I decided on these beautiful large round knobs with a backplate. For the bottom cabinet, I used a cabinet pull similar to this that I bought at Menards. However, it was black and I spray-painted it to match the knobs.
VI. The Finished Cabinet Tower
VII. Cost
Preassembled Home Depot cabinets: $260
Trim: $10
Side panel: $30
Wallpaper: $20
Hardware: $40
Total cost of custom cabinet tower: $440
I call this project a huge win! Not only does it solve many storage issues in my kitchen, it looks fabulous and I couldn’t be happier with how it turned out.
Stay tuned to see the next phase of this kitchen renovation! Tile backsplash, painting the cabinets, and more!